 The OEM head unit in my ’04 Dodge Neon went finally went kaput after years of adequate service, and after many lonely months on the road without a song to sing-along/butcher, I decided it was time to put some serious effort into replacing it. This is the first time I’ve replaced a car stereo, but found that it was very easy as long as you know what parts you need. This article will likely not be useful for an experienced car audio technician, but it might help out some DIY’ers on a budget.
Acquiring the necessary parts
 Unless you intend to replace your current OEM unit with another OEM unit, you will most likely need to buy the necessary adapters. In particular, you will need a dash kit which will allow you to install an aftermarket head unit into the proprietary receptacle, an antenna adapter, and a wiring harness which will allow you to connect your new head unit correctly without snipping off the OEM connector. Given that I am not too particular about quality on this matter, I went with the cheapest equipment I could find, which upon arrival seemed nonetheless well-made and entirely serviceable. For your convenience, here’s what I bought:
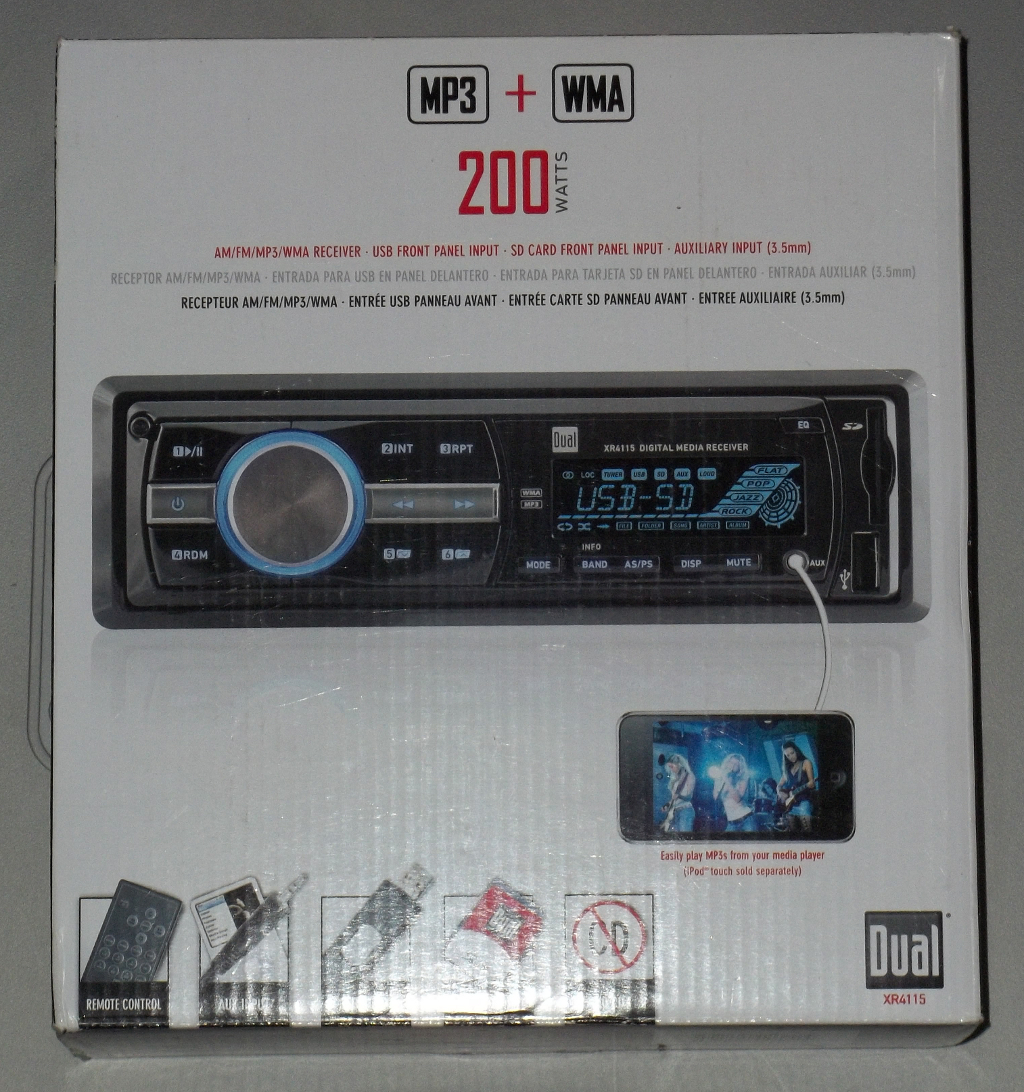
- Scosche Dash Kit for 1999-Up Jeep Grand Cherokee/1998-Up Dodge Intrepid/Chrysler Concorde Kit
- Scosche CRAB Chrysler/Jeep Antenna Adapter
- Scosche Reverse Wiring Harness for 2002-Up Select Chrysler/Jeep Vehicles Speaker Connector
Again, largely because I am cheap, I went with a Dual XR4115 In-Dash Digital Media Receiver as my head new unit. I don’t use CDs or tapes, so AM/FM radio combined with the built-in mp3 capability met my needs perfectly. I originally wanted a more recognizable name brand, but those with the features I wanted were out of my price range, so instead I found a respectable deal on a lightly used Dual. I hope it’s built well enough to do the job for a few years.
You will also need a a Phillips screwdriver, a dozen or so 18-22 Gauge Butt Splices, and a pair of pliers.
Removing the old unit
First step is to remove the old unit. For the safety of yourself and your investments, you can disconnect the negative (black) t erminal on your car battery.
Remove the air vents from your dash panel. This can be done by straightening them, gripping firmly, and pulling straight out. Underneath are two screws that must be taken out.
 Remove all of the AC/heating controls by gripping them firmly and pulling them out. You do not need to worry about the position; they can only go back in one way.
 Now grip the dash panel near the top and pry it away. It is loosely secured with spring clips that will give way with a bit of force. Once the top comes off, you will notice that it is still connected at the bottom; this is is not a hinge, but more spring clips, so don’t try to swing the dash panel down. Instead, pull the bottom straight out.
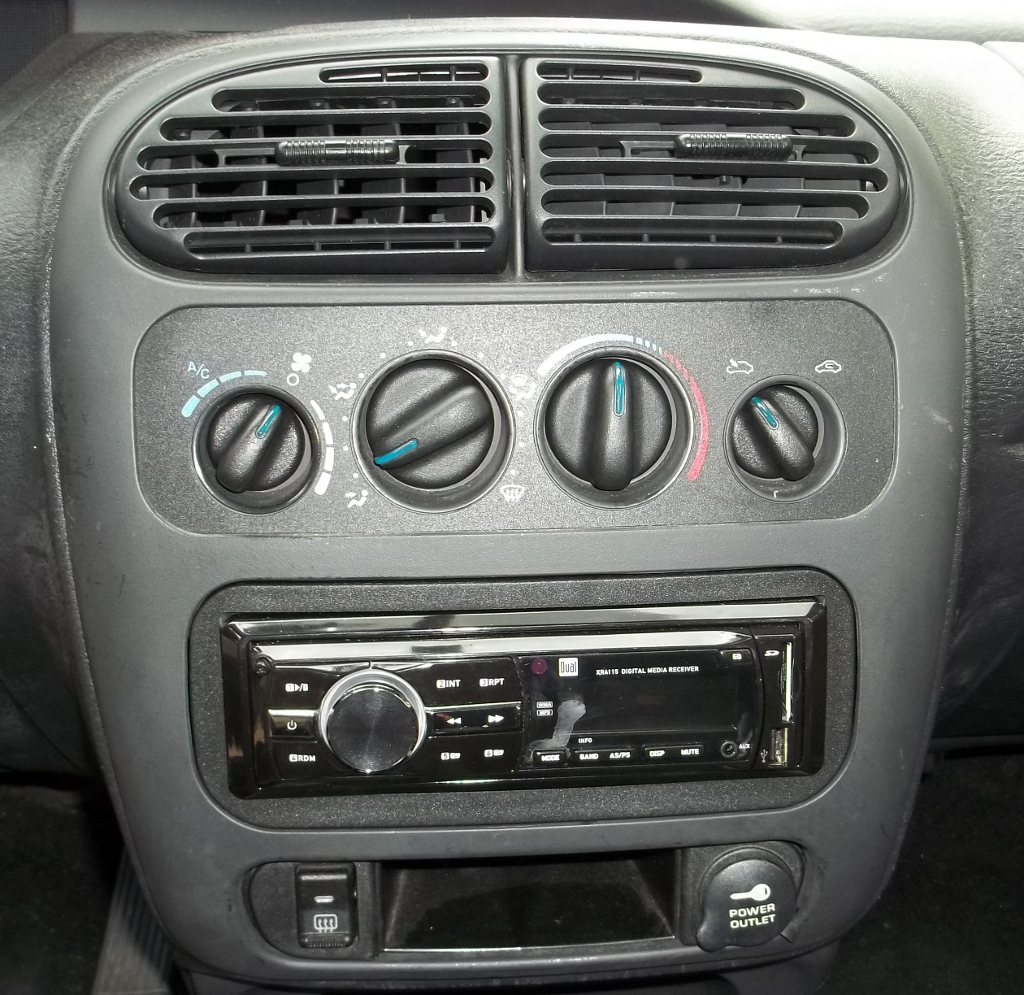
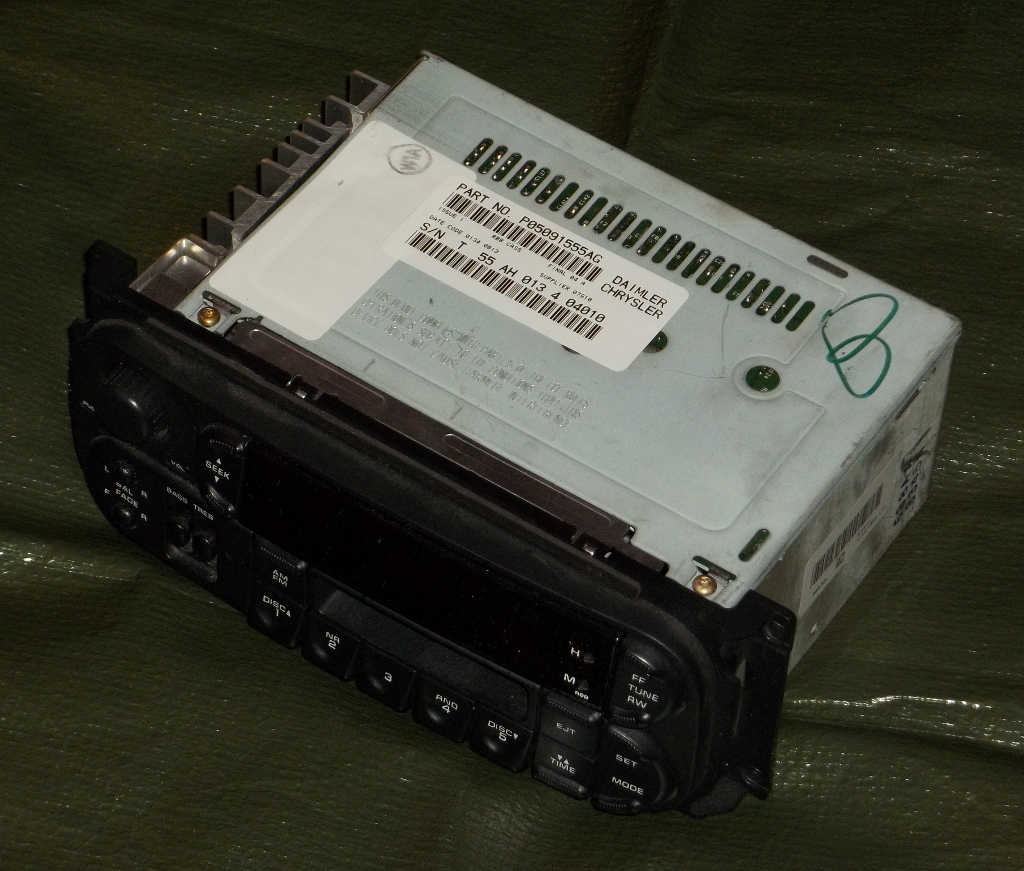
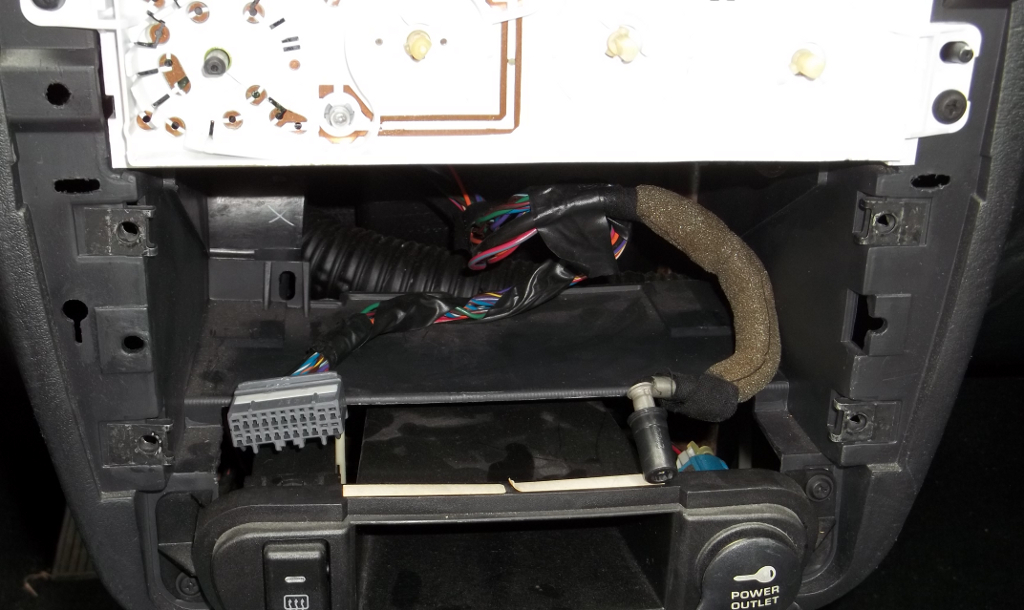
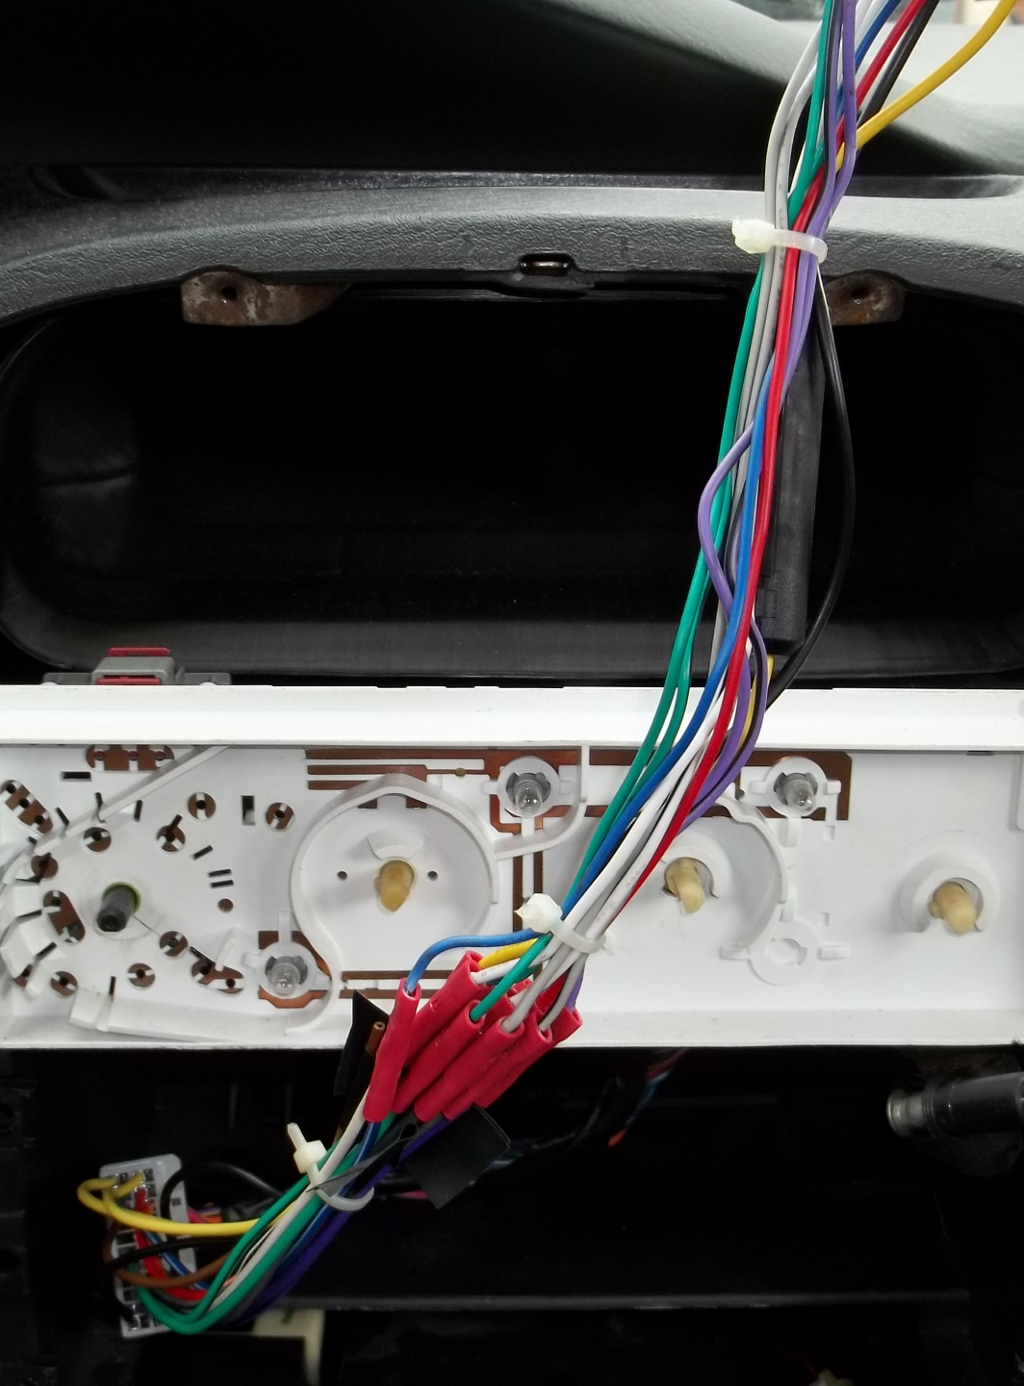
Note that the radio is attached to the dash with four screws. Take these out and the old head unit should slip out easily. You will need to disconnect the antenna and header. Pull the antenna out firmly. The connector has a latch on the bottom which will allow it to be removed
Preparing the new head unit
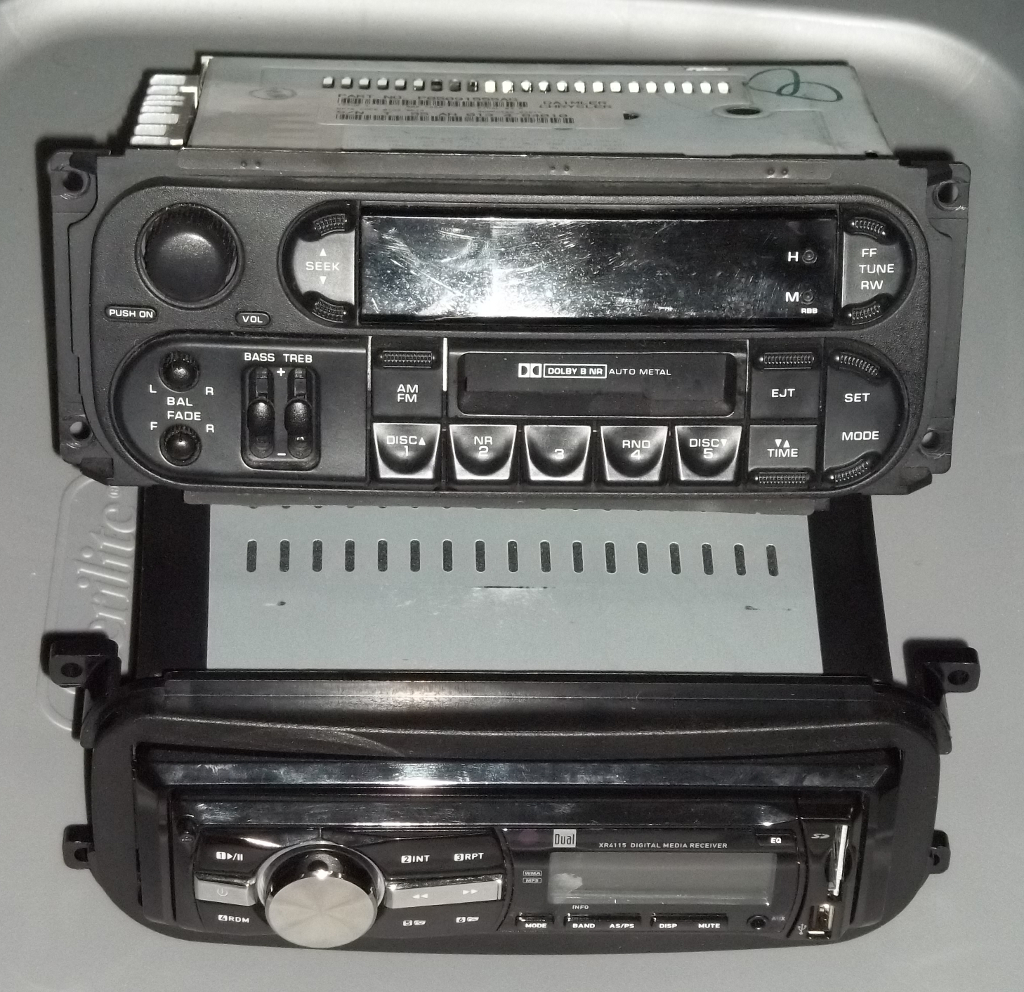
Old head unit, compared to the mounted new unit
The mounting kit comes with four components; a panel, a bezel, and two brackets. The brackets are marked “left” and “right,” the panel is marked at the top. The brackets snap into the panel with plastic clips, facing inwards to support the [radio].
I first installed the new head unit into the mount. It only went in from the front. It was a tight fit, and found that I had to hold the brackets in place to keep them from bending too much and possibly breaking the clips. The screws did not hold it securely in place, but it works well enough to keep this particular head unit from slipping out or bouncing around. You may wish to use washers, or different screws than those supplied in the package.
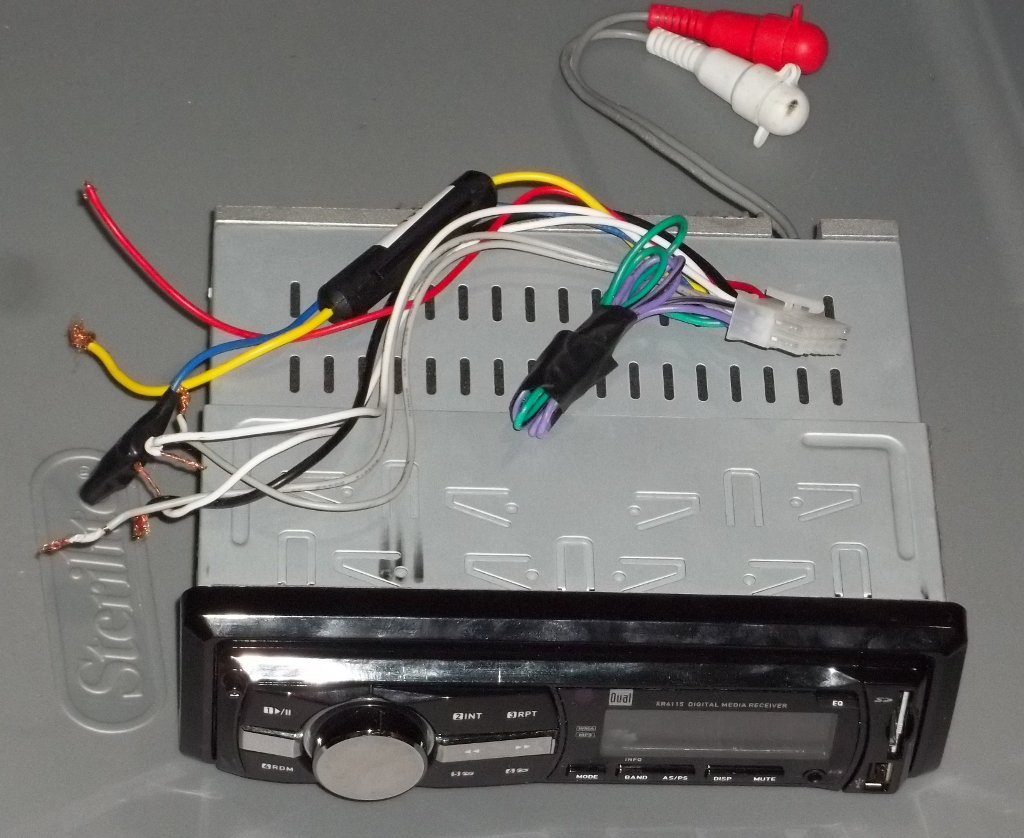
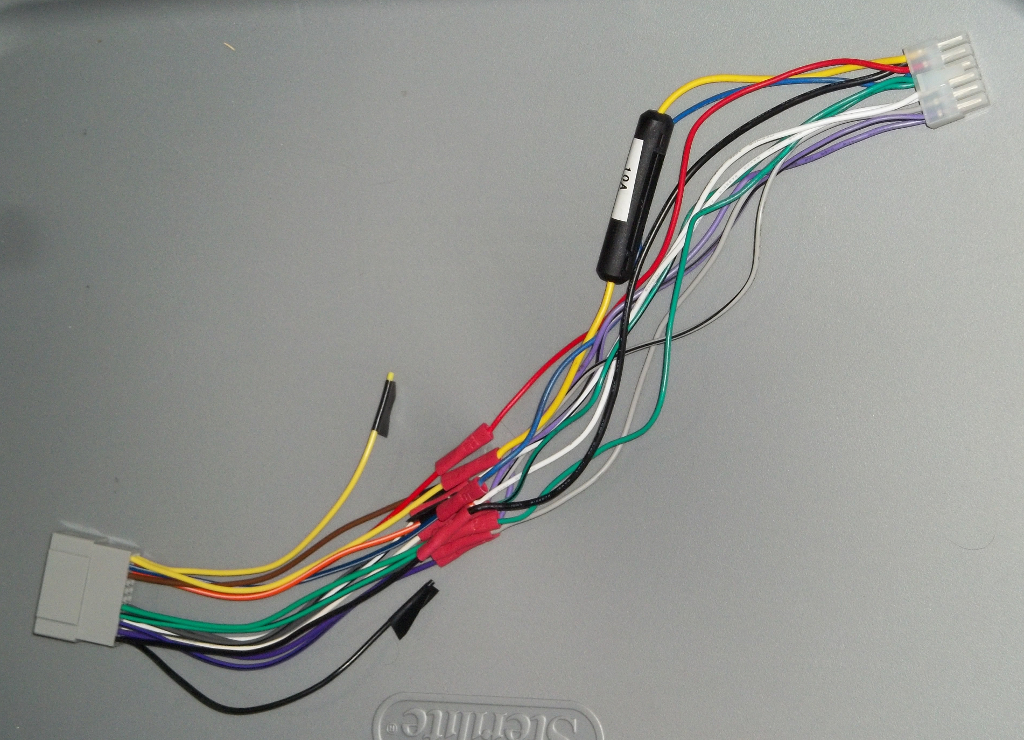 The most time consuming part of this project is wiring the harnesses. In my case, both the wiring harness that came with my stereo and the aftermarket wiring harness for my car were color-coded to the same standard, so the process was as simple as joining like wire to like wire. Insert the end of a wire into one side of the butt connector, crimp it with the pliers, then insert the matching wire and crimp it, as well.
There is one “gotcha” to be aware of, though. The Neon harness I received comes with two black wires and two yellow; however, if you look at the header in the car itself, you will see that it has wiring for only one of each. That means one wire will be live, the other a dud. Thus, when you are wiring your harnesses together, make sure you connect the right ones. As you can see in the picture to the right, for my car the correct wires are those closer to the plastic clip. I had to learn about this the hard way, which is why some of my other photos show incorrect wiring.
Final installation
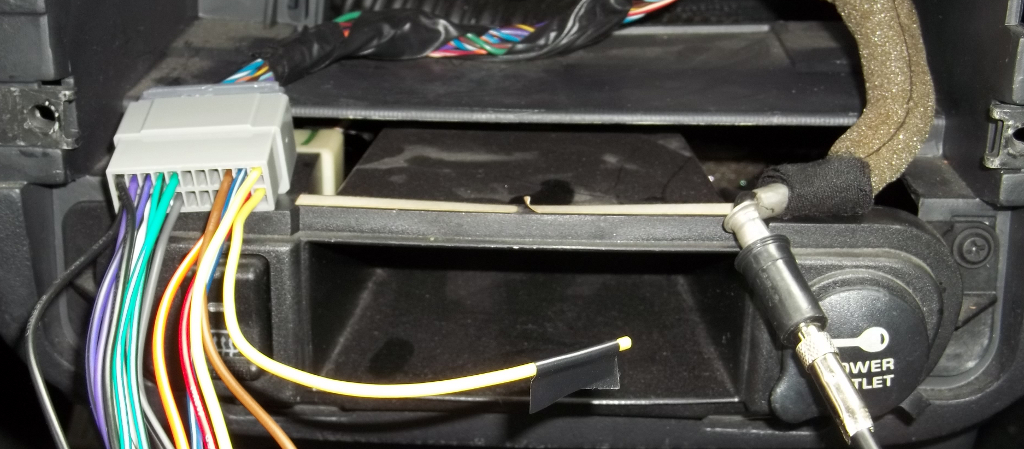 Once you have the radio in its mount and the harnesses ready, the rest is a breeze. I connected the harness and antenna adapters to the car and new head unit, then I reconnected my car battery in order to test the unit.
 Once I saw that it was working, I used some zip ties to keep the wires neat, and stuffed everything into the dash. I positioned the new radio and installed the four screws at the corners.
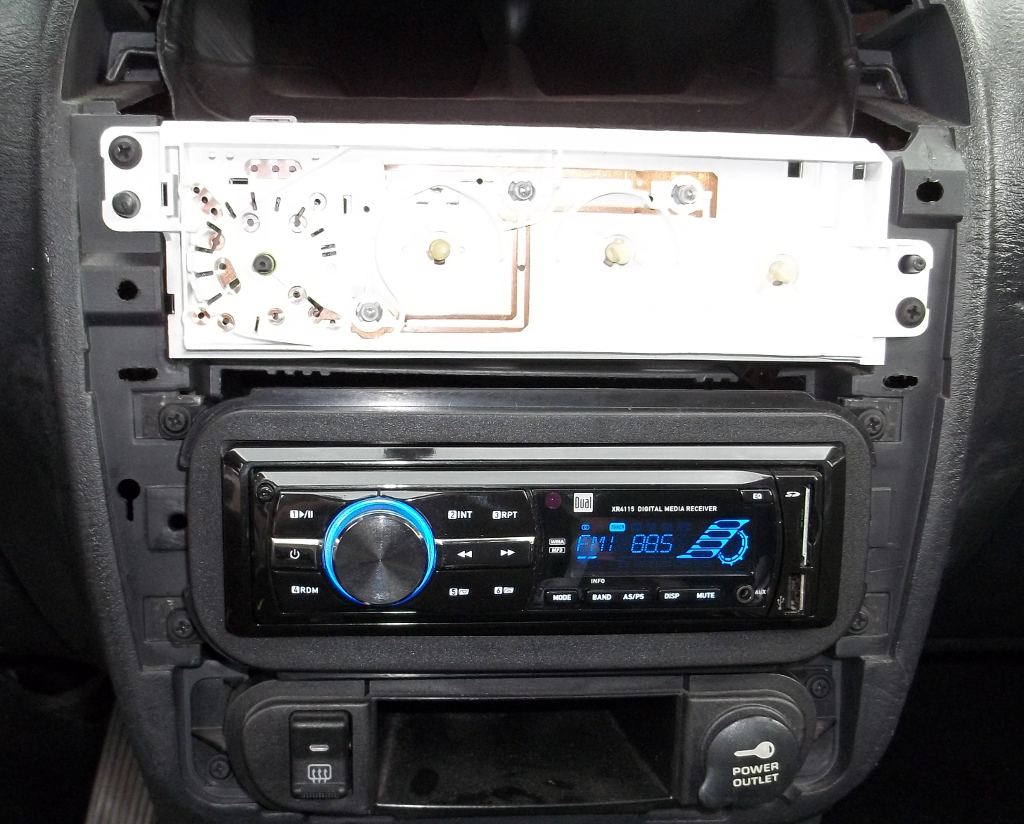
From this point, finishing the installation is simply reversing the steps that you took to remove the dash panel to begin with. Snap the panel on bottom-first, install the screws under the air vents, snap the vents back in, and put the AC/heating control knobs back on.
Done.