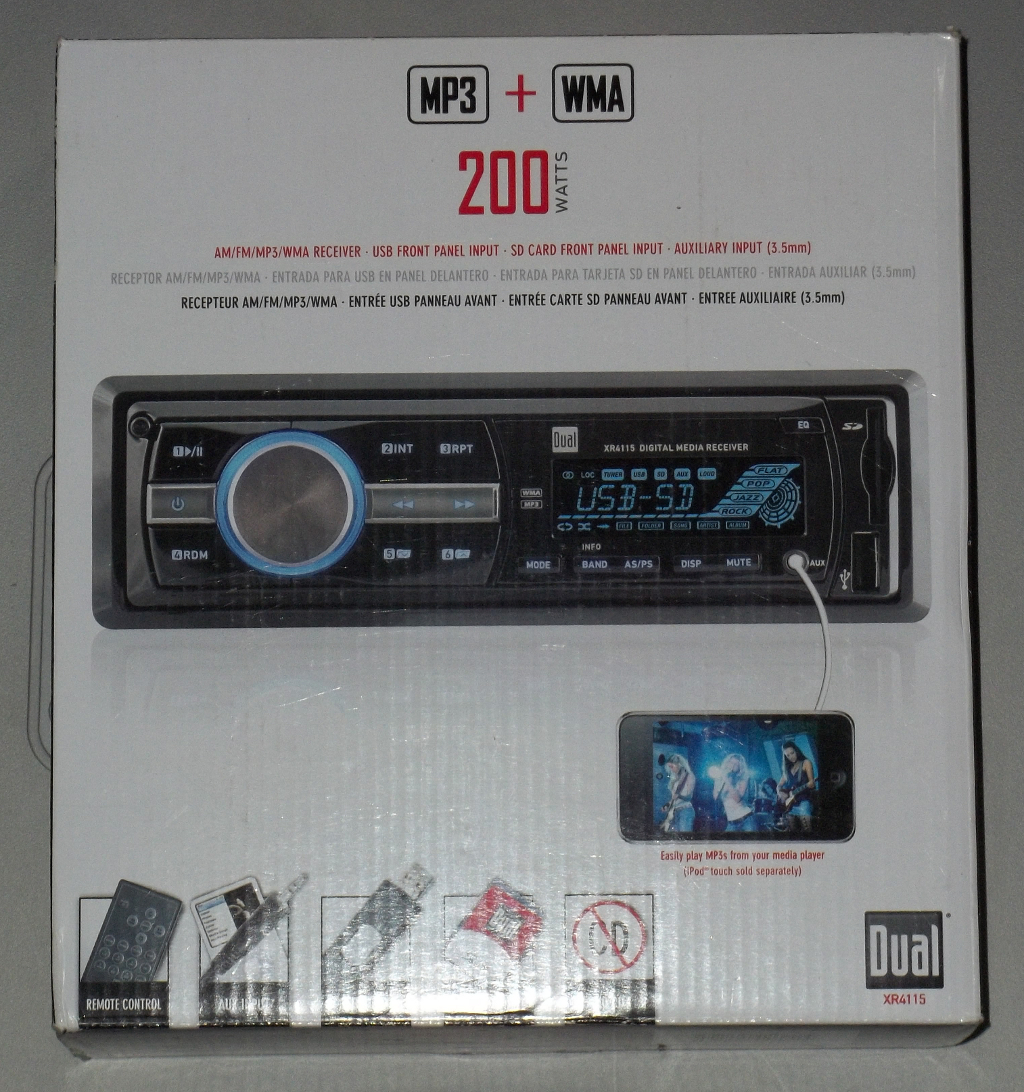
 Last May, I purchased a Dual XR4115 In-Dash Digital Media Receiver despite its terrible reviews, most which complained about the same issue: after some time, the digital display would go out. However, some people posted that they were able to fix the problem by replacing the backlight LED. With some limited experience replacing soldered components, I bought the stereo at a great price with the expectation that I could fix it if it went bad. After a few months, the light went bad, I fixed it, and I’m going to show you how.
First, the equipment you’ll need:
- #1 Phillips screwdriver
- Low-power soldering iron
- 60/40 rosin-core lead solder (relatively thin, I used .032″ dia.)
- Soldering wick (or a desoldering tool)
- Diagonal Cutter
- Small pliers
- A new replacement 2x3mm rectangular LED bulb.***
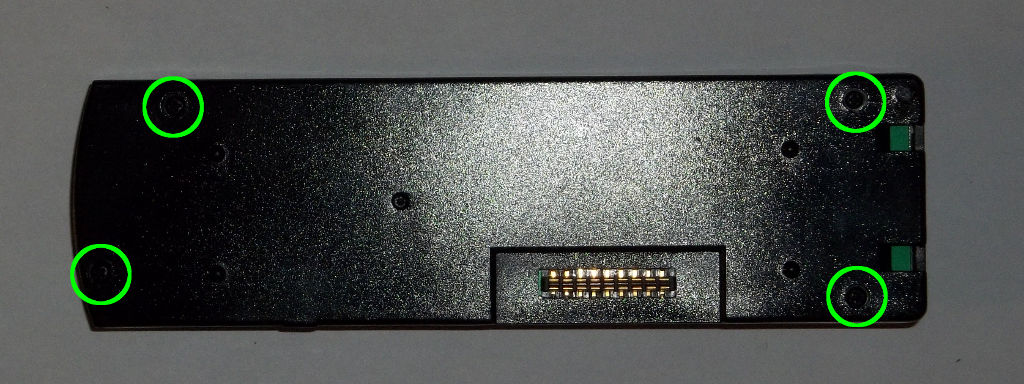 First, remove the faceplate from the stereo unit and bring it to your working area. Disassemble it by removing the four black screws on the back. You will need to pry the case open a bit, because it is reinforced by some plastic snaps that will need to be cleared.
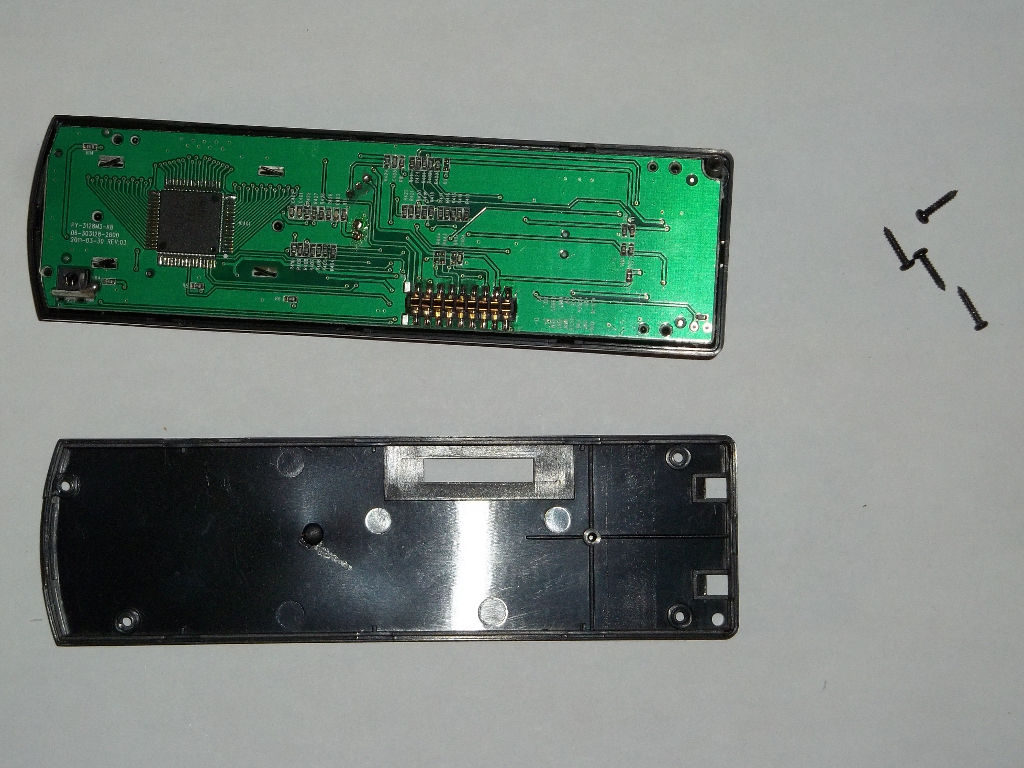 Take the circuit board out of its plastic housing. This may take a bit of pressure. Be careful, because it is holding the buttons against the front of the housing. There is also a spring and button that detach the face plate from the receiver, which you should be careful not to lose.
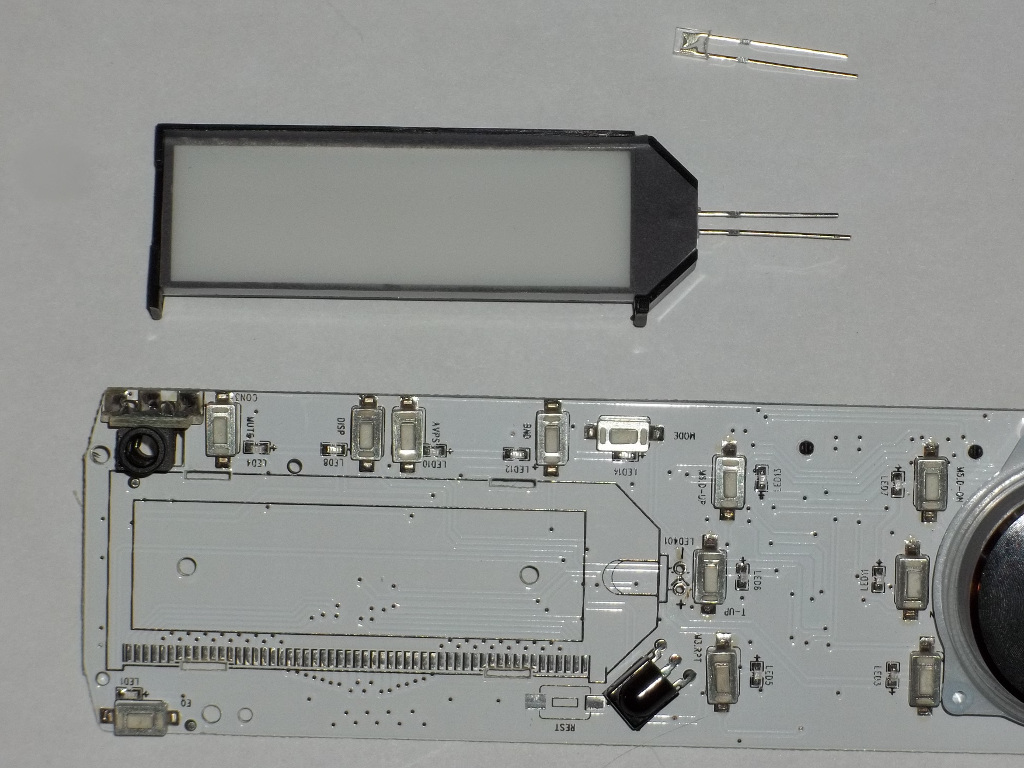
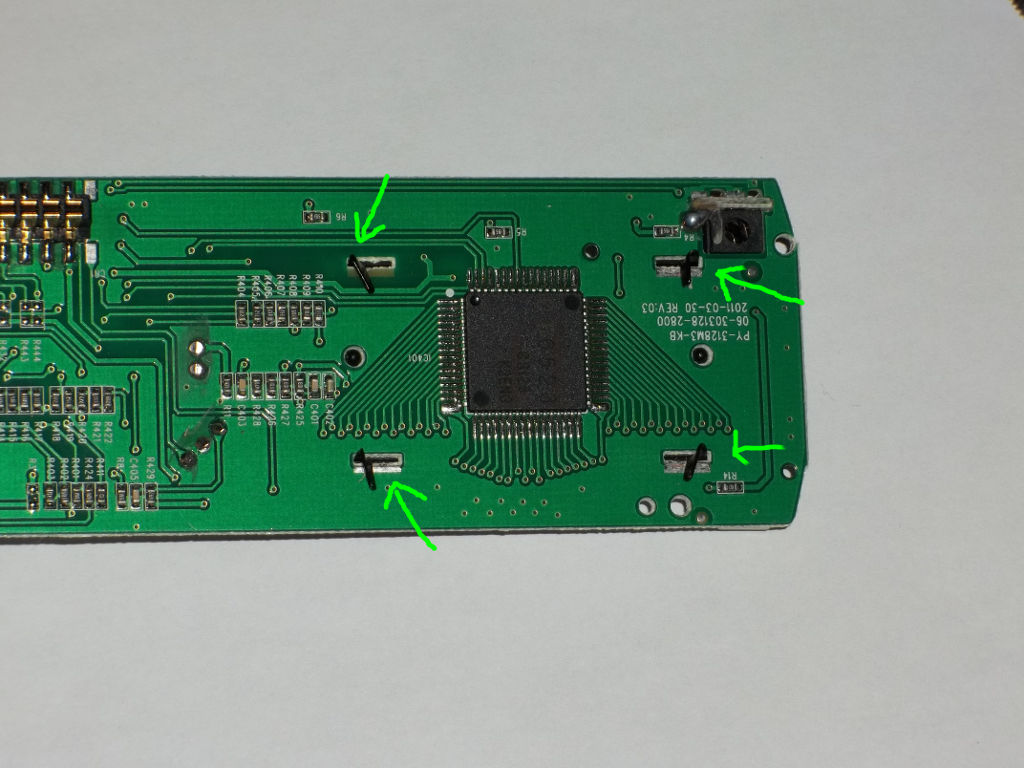 On the back of the circuit board, you will see four metal tabs that are bent to secure a metal housing which protects the digital display. Use your pliers to straighten these as best you can. Once sufficiently straight, the display housing should be able to be wiggled off; these are the only things holding the display onto the board.
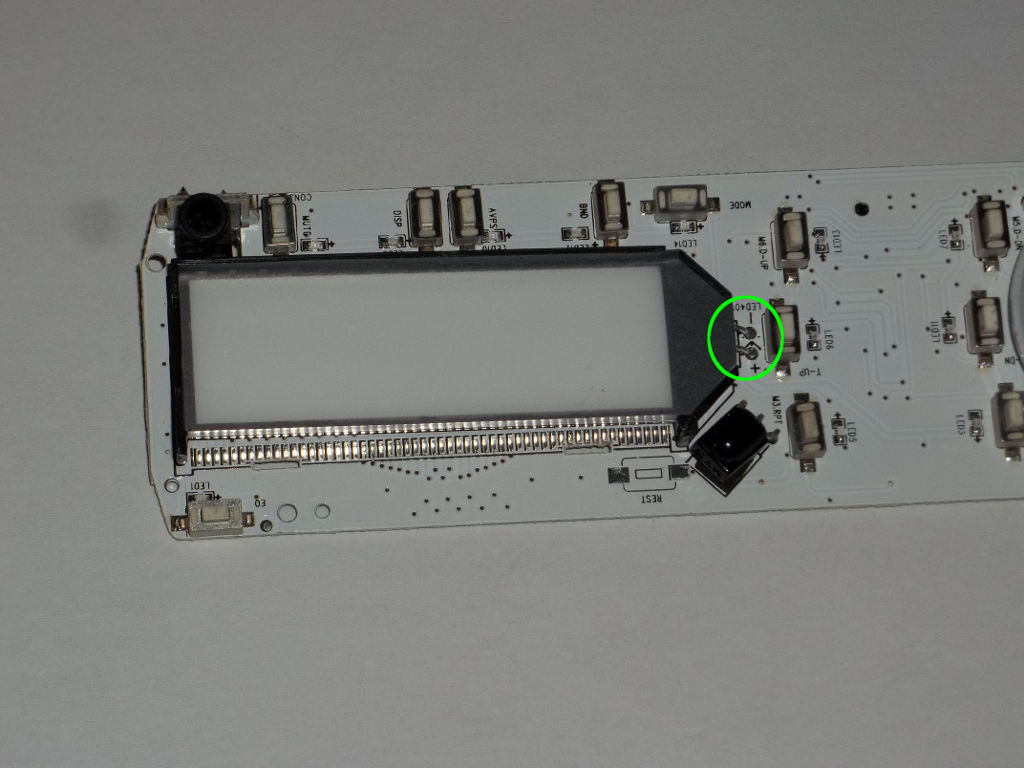 Once the housing is removed, you can also remove the digital display itself, which will reveal the backlight assembly. It will not be attached to the circuit board except by the LED that is soldered into it, the one which needs to be replaced. You will need to desolder this LED using the iron and wick. Make sure to clean out solder from the holes in the board; you will need to insert a new LED here.
 Once removed, you will find a white plastic tape that backs the assembly. Peel this off a bit to reveal the offending LED. You will need to remove this LED with a bit of force. When I tried to use a screwdriver to pry it out, I found that it caused damage to the light diffuser. Firmly holding the wire leads with pliers and wiggling it out seemed to work.
 Place the new LED into the board (long wire goes into the positive hole) and the bulb itself into the diffuser. Achieving proper positioning will take a bit of adjusting; I found it helped to use the pliers to pre-bend the leads of the LED. Once everything is in place, flip the board over and solder the contact points, finishing by snipping off the excess leads.
From this point, assemble the unit in the opposite manner that you disassembled it.
If everything went well, you have a restored Dual XR4115! Unfortunately, I do not know how long this will last; perhaps the problem was a bad source of LEDs, or perhaps the circuitry has a flaw that burns them out prematurely. In any case, this fix has worked for me, and if you are reading this sentence, then you can assume that I have had no other problems with this stereo.
*** Even though I only needed one, I had to buy these bulk from China, because I could not find any U.S. sellers. I am selling the spares for $1.50 + $0.50 for each additional item, first-class shipping included within the U.S. To order, send a PayPal payment to shanock@shanock.com for the amount you’d like to purchase, along with a note to me that you want LEDs.